Pick one of my pictures and use this as your goal. I’ll show you how to photograph, stitch, add skies, add characters. Everything. Be you a beginner or be you advanced, there’s plenty to learn. With a menu of modules, you can pick and tailor what you need. Backed up with email and telephone support, FREE for one month after the course.
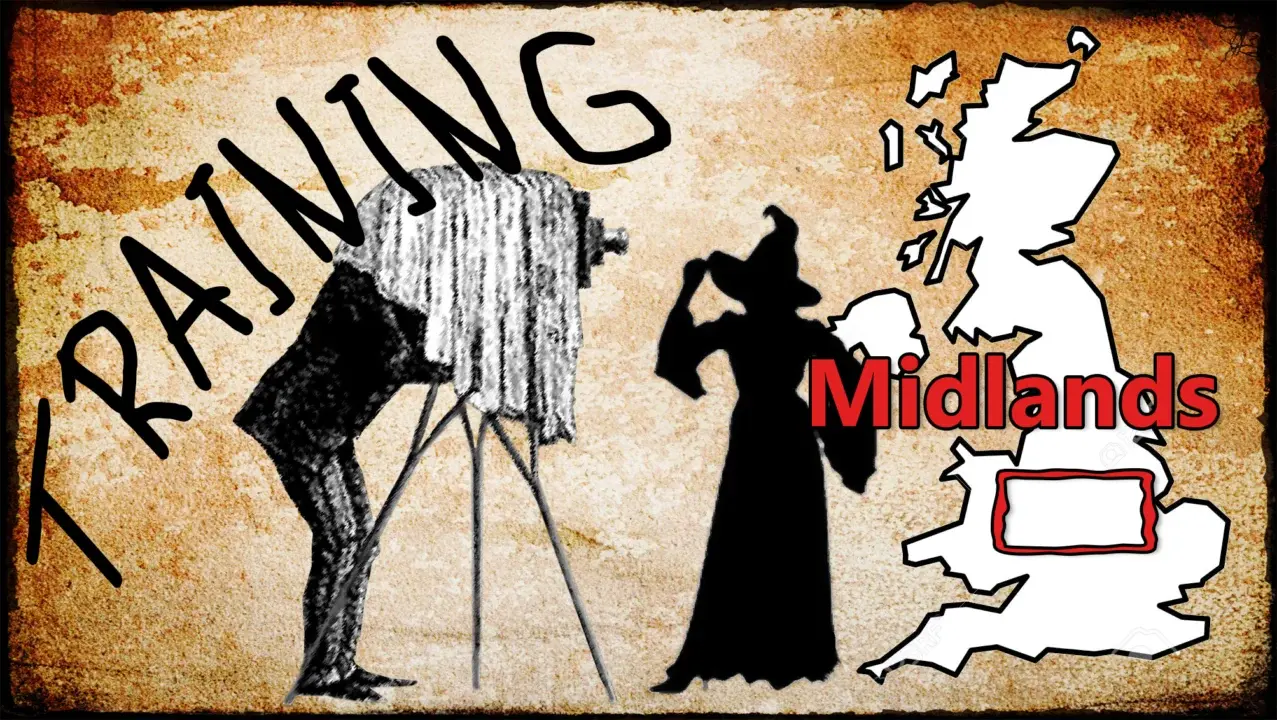
Residential over a weekend
3 days at your location: home or office, 9 till 5. Beginning on a Tuesday, through to a Thursday. Total immersion in witch photography.
Who for & what?
- Photographers wanting to take their pictures to another level.
- Artists needing to explore a digital world.
- Illustrators needing one or more characters in different poses.
- Animators video shorts or full movies.
- Graphic artists who have to make stylised drawings.
We’ll make a picture, together, with me holding your hand, over a few days. Now, to be clear, most of my pictures take at least a week, some several months, so this will be a quick, rushed bodgit and scarper job. There’ll be no time for artist angst! Creative block cannot exist here. I’ll show you how to get it all together, then, in your own leisurely time, you can refine it to the degree you need.
Or, more likely abandon it, start afresh with your own cherished content and subject matter.
Art is never finished, only abandoned.
Leonardo da Vinci
There are three levels: beginner, intermediate and advanced. You may not know where you are before you arrive, but be assured, we’ll find the level that’s right for you and fill your boots with knowledge and skills. Start off with a questionnaire about your knowledge and skills levels.
We’ll cover everything. As well as the different software packages, there’s more…
- printers
- paper
- ink
- mount-cutters
- mount-boards
- cellophane
- suppliers
- websites
- social media
- Facebook advertising
- Google shopping
- Etsy
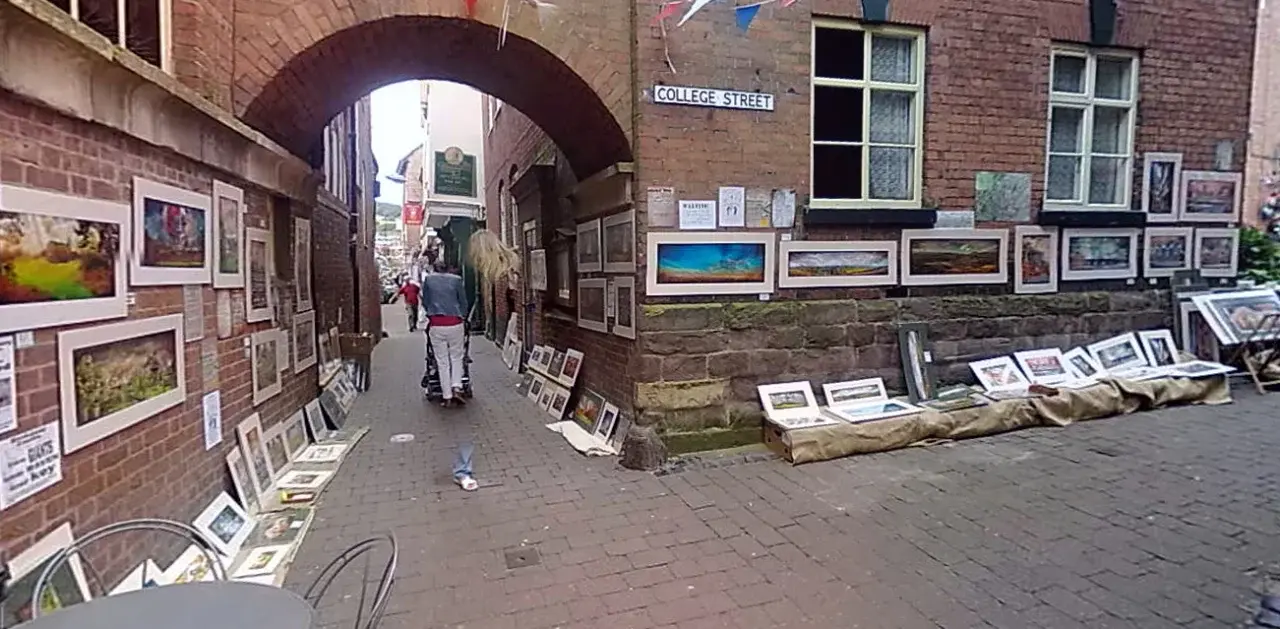
- markets & festivals
- other sales channels
- research
- branding
- sales patter
- haters
- philistines
- insurance
- copyright
- video cards
- memory
- hard disks
- back ups
- input devices
- monitors
- cameras
Now, that’s a lot of stuff. You can’t suck it all in in one go and make a half decent picture over a weekend. So, you can also buy ongoing monthly support. And you can come back for another course : -)
Cost, dates, locations and bookings
Weekend course fee: £500. Two instalments: a £250 non-returnable deposit secures a seat. The remaining £250 two weeks before. (I’m not yet VAT registered.)
Includes one month follow up support, FREE!
The course fee is all-inclusive, I’ll order takeaways for main evening meals — to suit your palate. Tea and coffee making facilities will be available. I’ll stock up on a range of fruit and snacks, breakfast cereals, breads and sandwich materials.
One bedroom each. We’ll work in the common areas, sometimes gather in a huddle to solve problems. If you want to work in your own room, in private, that’s OK, too.
Standard AirBnB facilities with WiFi internet. Smokers outside, please. And all the usual AirBnb T&C will apply. House rules will be forwarded to you, your attention will be drawn to certain parts. We’ll be perfect guests!
Courses will repeat, so if your nearest regional location is full, join the waitlist to be informed when it returns again to your area.
At your location course fee: £900 (£100 for additional people). Again you can book, here, online with a 50% deposit. The remainder is due on the last day of the three.
Includes one month follow up support, FREE!
All in the comfort of your own home, or office. No matter where it is in the UK.
I’ll bring my own sandwiches, I’m expecting to work through lunchtime, so these will be packed days, 9 till 5, Tuesday through till Thursday.

If you’re not ready to book a course but want to be kept informed of upcoming courses, just in case you change your mind, this is for you… If you want to suggest regions, dates or anything else, use the standard contact form.
The trainer?
Steve Hooker
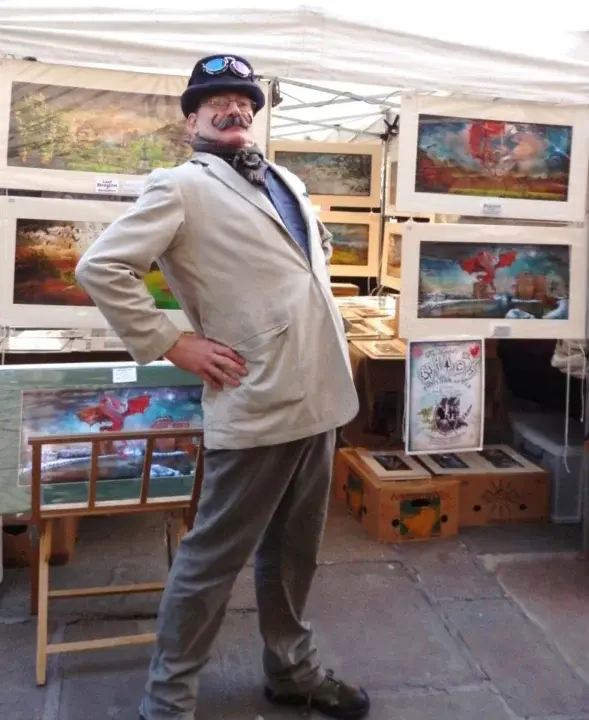
Designation
Shropshire’s famous, the world’s only witch photographer
I started this, like all good things, by mistake. Nearly 10 years ago. Not thinking it through, I called the company Gwendda, after my dog.
I have been using Photoshop since version 2.5 back in 1992. And in 1994, can vividly recall layers in version 3 blowing my mind.
However, there are other pieces of software that turn my head. And will dazzle you too. PTGui is required to stitch. Daz3d, Zbrush, Reality Capture, are amongst my tools of choice these days for 3d work. And Octane Render to light fairy scenes. More about these below.
You’ll learn not only the tools but also the tricks that took me nearly a decade to understand. You’ll hear of the dumb things I’ve done, the successes, regrets, wins. Rules worth breaking, lines that should never be crossed.
Timetables
The long weekend
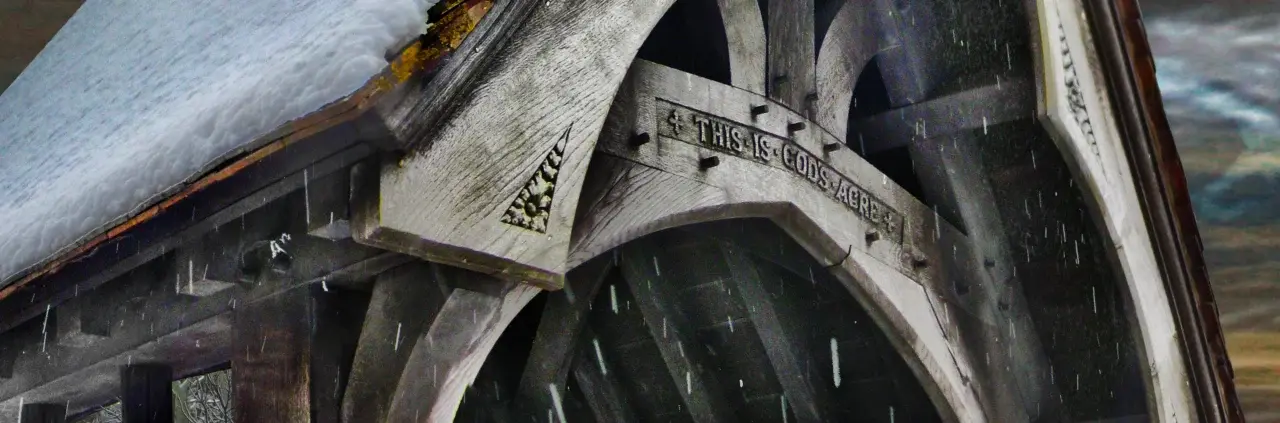
Arrive at 4 pm on the Friday. Two hours settling-in, setting up. Then, we’ll nip outside and shoot the building. And spend the rest of the night till 10pm, stitching it in PTGui and tone mapping in Photoshop. This is more of a test of competence and capacity, for you and your equipment.
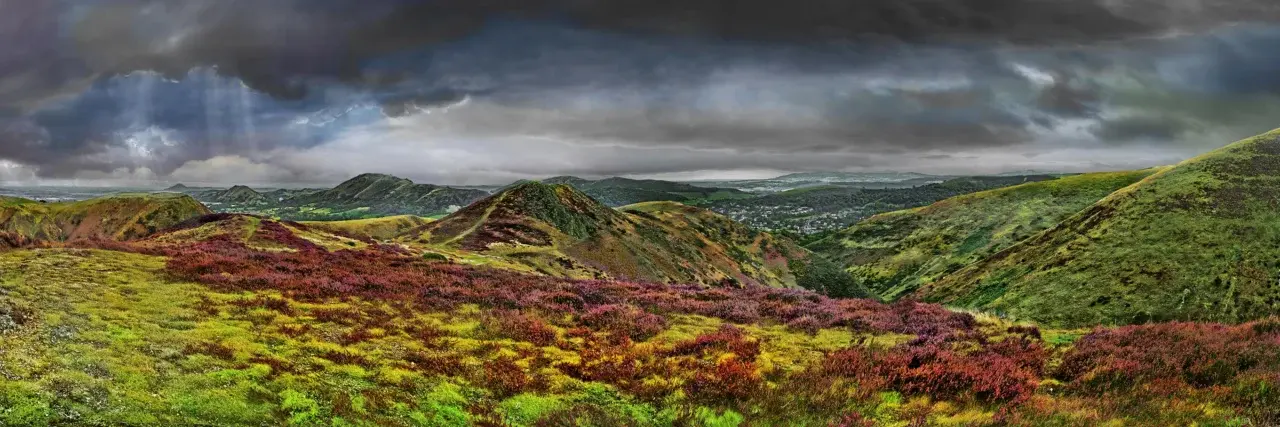
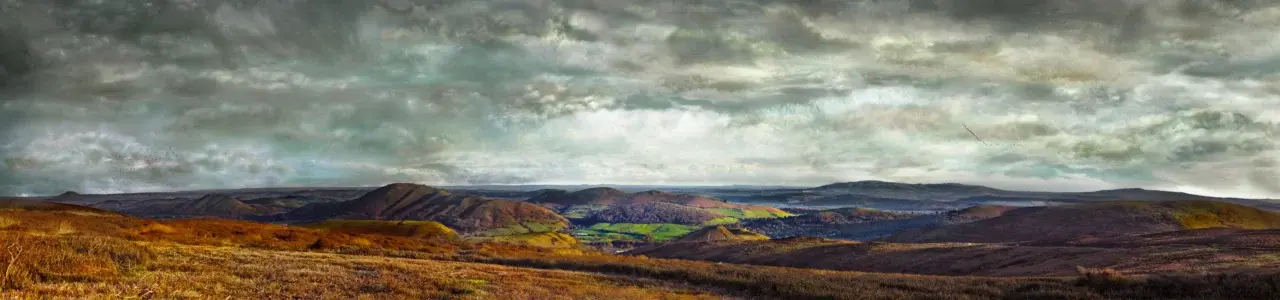
The Saturday morning, up early, once more outside but this time, to a nice view. Panoramas! Throughout lunchtime, stitching and tone mapping. Then we’ll add some skies, borders and texture effects during the evening. By the end of the night, around 10pm, you should have a decent base panorama. (Something I would spend a week refining.)
Sunday, again we’ll be working till at least 10pm, you’ll have the option of:
- refining Saturday’s work: comping in characters found off the internet. Adding in different types of clouds, sunbeams, birds and other small ‘accessories.’ Again, refining, iterating over and over takes a lot of time. You may want to skip the 3D stuff, maybe till next time.
- Or… Dive into an introduction to the 3d world. Two choices:
- Creating characters with Daz3D that you may want to comp into your house portrait or panorama. These maybe dragons, fairies, horses or whatever you want from their vast catalogue.
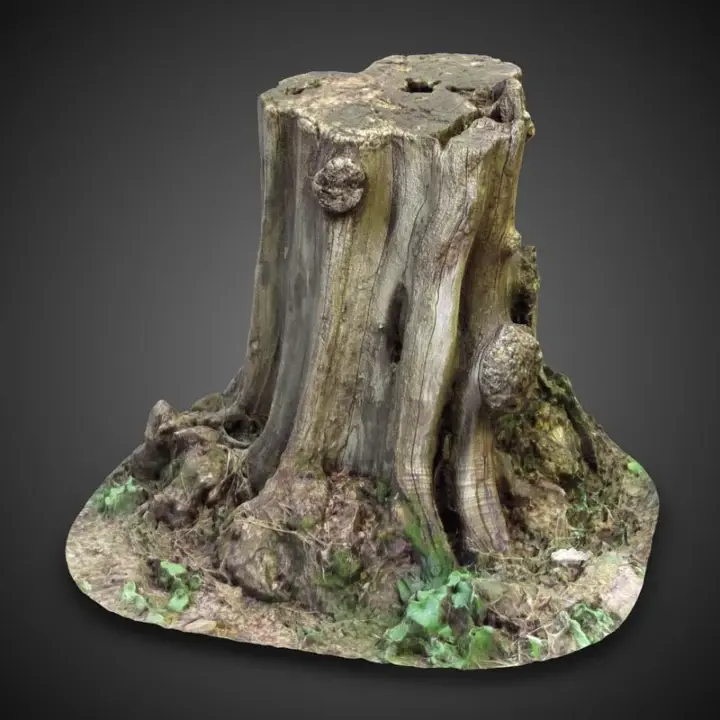
- Or, we’ll scan a tree stump, a building scene or some other environment. It’ll be a quick and dirty scan, using the software package Reality Capture. The problem with flat 2d pictures, is, that it is difficult to place characters correctly into scenes. The perspective is difficult, as is the lighting. You have to eyeball it. The result will be used specifically as a rough working 3d model which we’ll import into Daz3D. Then, add a character, sitting on a branch. See the two images below.
Note: It maybe that you want to skip the Photoshop stuff and spend time in the 3D world. This is fine, I can set you a modified course, specifically for you and agreed with you beforehand, beginning Friday night.
Monday leave by 10 am. (Or, Sunday night.)
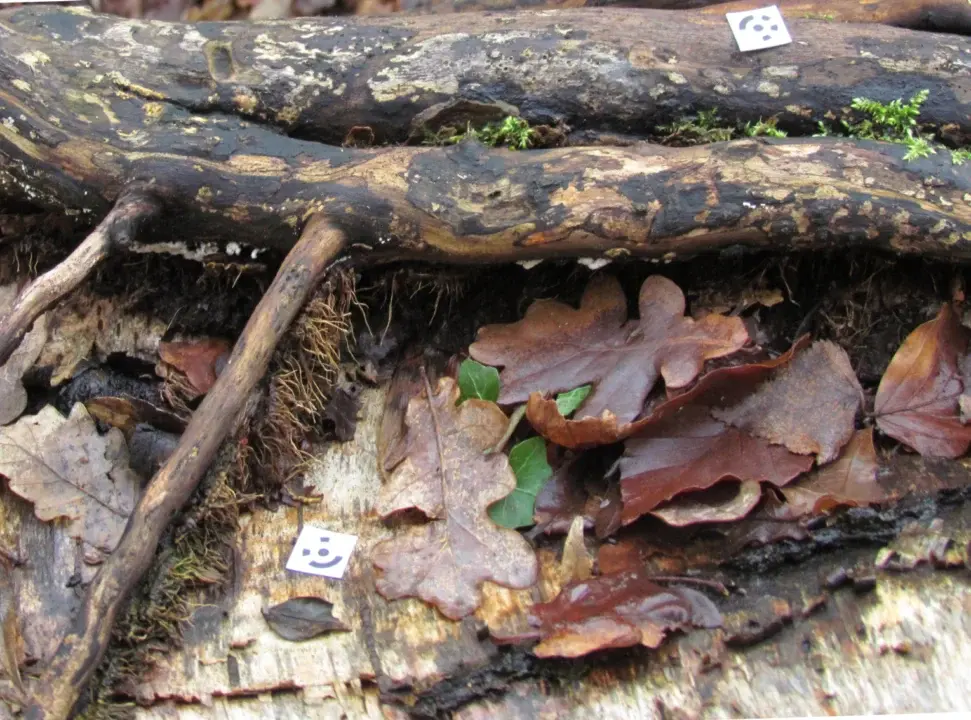
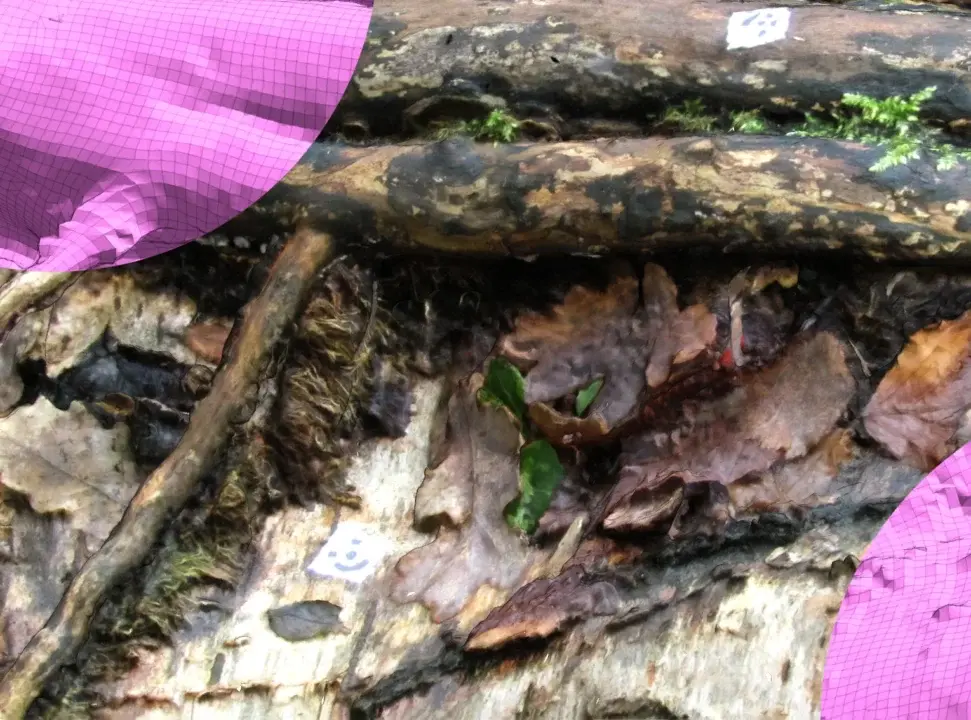
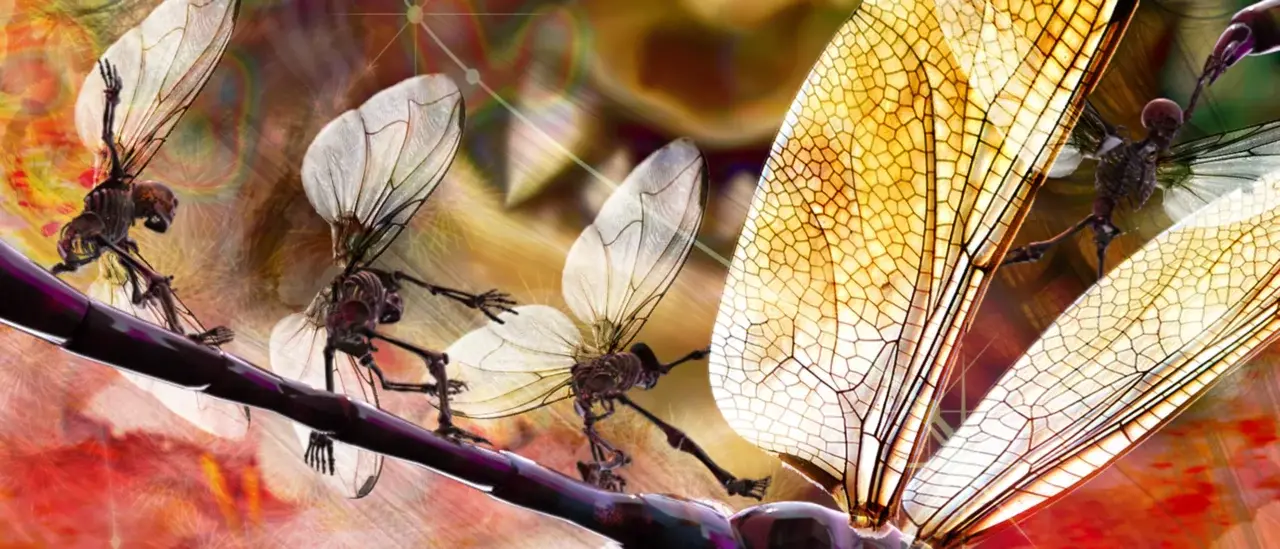
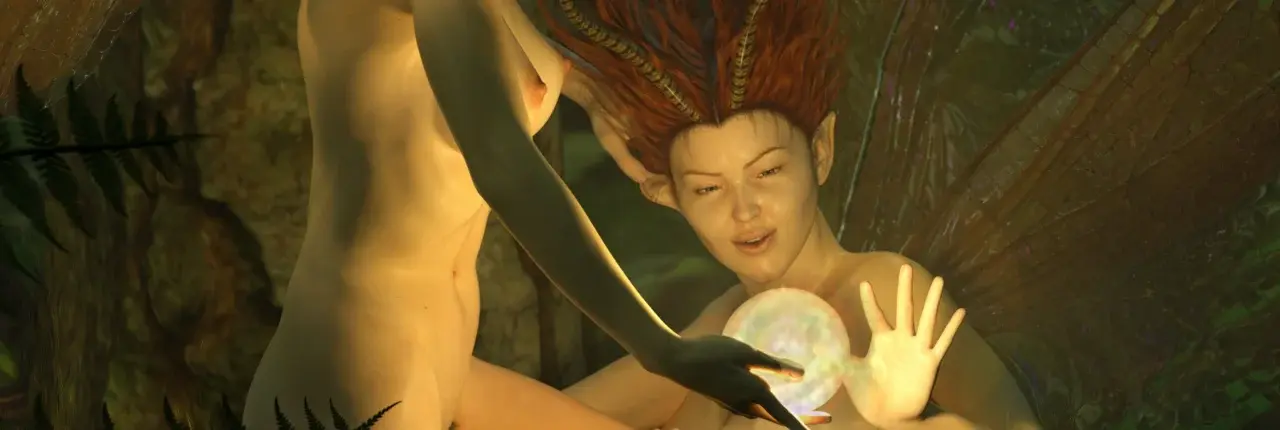
A fallen log. Scanned with my regular camera, with coded targets to help in the alignment and textured with Reality Capture. Loaded into Daz3D where fairies would be added behind twigs and leaves, having a conversation, shooting the breeze, as fairies do. The fairies would then be rendered on their own and comp’d into the tone mapped image, textures would be added; as well as borders and other effects.
At your location
Three days, from 9 till 5.
After the initial introductions, we’ll go and photograph something or somewhere. We’ll process this in PTGui then into tone mapping in Photoshop.
Day two: adding skies, textures, borders in the morning. Afternoon, comping in characters, either found or newly created from Daz3D.
Day three: again, there’s two options (as above). Running over everything from the previous two days. Or, 3d scanning an object or location.
Witch photographer school
You’ll need to bring some stuff: some software, a computer and a camera. I’ll bring everything else.
Essential software
For years I just used Photoshop and PTGui and all was good in my world. I could find characters in Google Image Search and comp those in. Then I discovered Daz3D and wanted to add characters of my own making to my own pictures. But, this doubled, even tripled the time one picture would take. Computers make you do things much better and eat up your life. As I’ve stated above some pictures take months.
- Photoshop: £119/ year. If you have an old version – that’ll do.
- PTGui Pro: £273/ lifetime. This is for stitching. If you don’t want to do panoramas and have a very high megapixel camera you may not need this.
You will need a machine with these two essential pieces of software already installed, you’ll buy your own before you arrive or already have them.
Advanced software
Take months? This is where the bodies are buried. Reality Capture makes the 3D environment models to place characters in perspective with the right shadows. These models can take an afternoon to a few weeks.
Though Daz3D allows you to pose characters with fabulous control and this in of itself is a great time sink, moving fingers around objects, toes correctly on floors and so on, but… The final pass of close up work will see you sending these characters into Zbrush to tweak, ever so slightly, particularly hair and clothes. Happily Daz3D and Zbrush connect together well. As well, you want to clean up your scans from Reality Capture in Zbrush.
Octane Render is a proper professional ray tracer. Daz3D has a free inbuilt ray tracer, too, in iRay. And it’s fabulous. And it’ll be plenty for 99% of the work I do. But when I want to go up a huge notch, Octane is the place I’ll hang out in, changing skins, atmospheres, tweaking lights. But, it’s a massive time sink, and on this course, I’ll only have time to give a super bird’s eye tour. (Contact me about advanced courses – see below.)
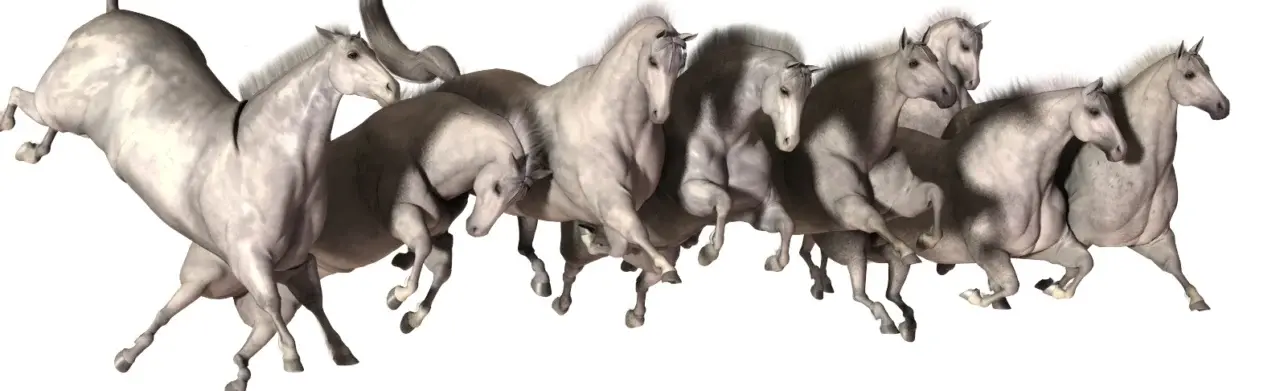
Stoneage horses were much stockier, back in the day
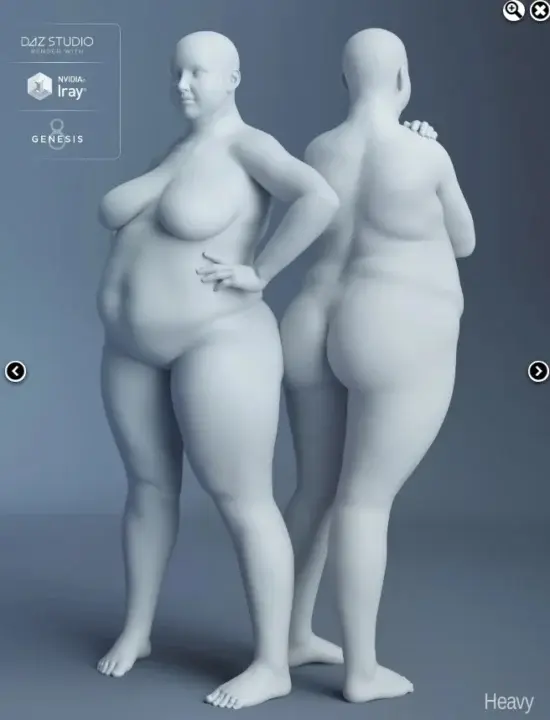
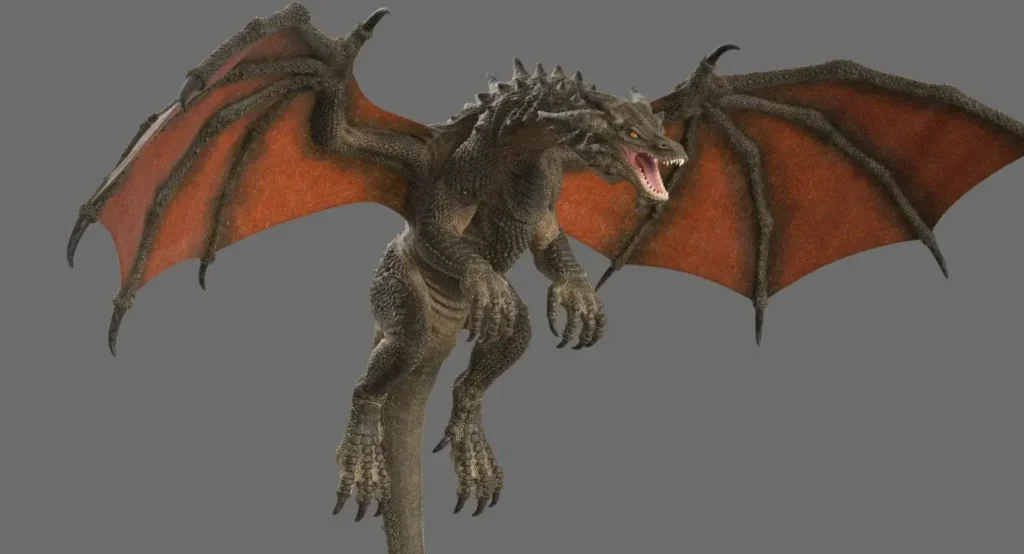
- Daz3D Studio: Free. Includes Genesis 8 starter pack. A male and female figure with a few hair objects, a few clothes, too. There’s a ton of stuff to buy in their shop, but this starter pack will be enough for our course. I like the Dragon 3, you may like the Horse 2.
- Reality Capture Promo: €99 EUR per 3 months. (Not the Steam version – read the comments, there.) RC doesn’t run on Macs, you’ll have to use the equally good Agisoft MetaShape.
- Zbrush: $895 USD with free lifetime updates. A free 45 day demo version is available.
- Octane Render and the Daz3D plugin: price varies from $20/ month to $899/ two years. Suggest the monthly, initially. There is a demo version too, to check this beast runs on your machine (and your brain).
Computer requirements
Minimum requirements: A Windows PC with 16Gb RAM, 2Gb of free hard disk space and a decent nVidia video card with CUDA 2.0 and a bare minimum of 1 GB VRAM. In short, a modest gaming laptop. Or a workstation, with monitor, keyboard, mouse and/or drawing pad will be acceptable, too. Make sure either can get online with WiFi (because Reality Capture requires it, as does Octane). If you have more oomph, all power to you, especially with Reality Capture, Octane and rendering with iRay.
Apple Macs are fine with Photoshop, PTGui, Zbrush, Daz3D. However, Reality Capture and Octane are not :- / There are other applications: Agisoft Metashape Standard Edition $179 will replace Reality Capture very well and there are many high end renderers that will replace Octane Plugin for Daz3D, though not so neatly. Keyshot is expensive, I use it connected to Zbrush, it’s great. iRay may well prove enough for your needs.
Camera (and a tripod)
Bring the one you’re comfortable with — this is not a camera course. Be it an old, battered digital compact with 15 Mpix. A powerful SLR with interchangeable lenses is overkill, but if you know it inside out, it’s great. A 15 Mpix camera will merely need to take more photos.
But, you will need to be able to take a sequence of exposures. That is 7 shots 1 or 2 stops either side. Again, a normal exposure, one 2 stops overexposed, one 2 stops underexposed, another two 4 stops under and overexposed. In this way, we’ll make a HDR image. Then, we’ll pan across a little, do another 7 exposures, and repeat until we have the whole vista collected. It is vital to have a decent tripod. It doesn’t have to expensive, just that the nuts tighten OK. I use a weightlifting weight dangling on a string to anchor mine, and add more on windy days. (I’ll bring plenty of spares.)
Such collections take around half an hour, sometimes. And, it’s difficult to visualise because it’s not until they’re stitched together can we see the final vista.
Then, we need to tonemap, maybe a dozen variations (I have a Photoshop action for this – it can take an hour or more to execute), stack these into a layered document, clean up and correct. Sort them into the right order for your eye, using blending changes and masks to pick out different tone map effects in different parts…
Then, add in skies and…
Then… Add everything else.
Everything can be a few birds, border effects, textures, special effects like sunbeams, darken areas, or lighten areas to draw interest. Perhaps, witches, fairies, ghosts giants and now also dragons. It’ll depend on your style. And your style may not be pagan, maybe you are a SyFi freak, may the gods bless you and all who sail in your StarTrek space ship. Perhaps you are a graphic novel artist and you just want cityscapes and post-apocalypse war scenes, rendered in an ink line and wash with dot tones. All possible.

A graphic rendering of the below fairy. Illustrating the vast range of available, off the peg styles.
Aims and methodology
A path for witch photography
This is a pick and mix menu. Though, naturally you wouldn’t want to run a marathon before you can crawl; you wouldn’t want to jump to advanced 3D without knowledge of Photoshop editing techniques nor iRay rendering.
And within two, jam packed days, over one weekend, all of this cannot be jammed down your throat. Though, I can demo things pretty quickly, just to give you an over view. If you want to get to the more advanced 3D without much background knowledge, you should be thinking of two weekends or more and lots of homeworking.
Module 1: Digital photography
Whilst there is a wealth of knowledge and help scattered across the internet, this training course will give you hands-on guided experience to rapidly master a range of necessary techniques to stitch an HDR panorama including:
- HDR photography
- stitching panoramas
- compositing skies
- layering and blending effects
- final printing
I think many will want to stop here and not get into 3D. And this is good : -) There is so much in the above. Including giclée printers, specifically, my trials and tribulations wins and losses with Epson printers. Mount cutters and selling pictures online and in other places.
[su_note note_color=”#FFFF66″ text_color=”#333333″ radius=”3″ class=””] OTOH Some may want to skip the photo stuff above and just concentrate on the 3d below. But, you should think hard, “are my compositing skills sharp enough?” [/su_note]
Module 2: 3d modelling
This 3D modelling course takes in two distinct methods:
- shop bought models from mainly Daz3D own shop or
- your own homemade models
- either created within Zbrush (which I’ll not cover) or
- taken from life by 3D scanning AKA photogrammetry
Character 3d modelling
Below are the shop bought Daz3D’s Horse 2, Dragon 3, Genesis female 8 body morphs, musculature HD morphs for Genesis 8. Though there are many other places that you can buy clothes skin textures and other prop models specifically created to be imported into Daz3D and Poser. Renderosity is probably the biggest.
Daz3D come free with Genesis 8 Starter Kit. But, this is only enough to get you to buy more, naturally. It’s enough to play with, to see if this suits you.


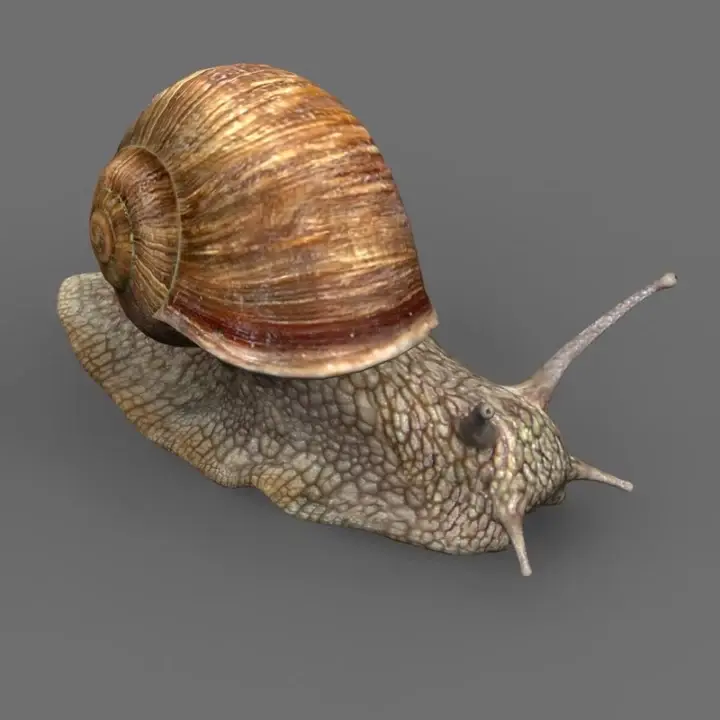
As well, there are many, many more places where you can buy other compatible models, e.g TurboSquid, which has many photorealistic dragons, snails, tree stumps, Spitfires – everything under the sun. Some are very expensive, some are very cheap, even free. We need .obj or .fbx formatted models.


The problem with 3D environments/objects like the ferns on the log opposite is that a lot of work is needed to create pukka models. Especially when it comes to objects that will be used close up.
Which is why I prefer to shoot HDR images of ‘objects’ like the fallen log opposite, as well as creating a model. In these HDR images, the ferns are better than perfect. The idea is to render just the fairies, comp them into the high rez HDR, carrying over shadows, masking parts of the fairy group that are hidden behind the ferns.
The problem with this working method… Is that you are then restricted to this one single view when you can easily swing the model around into a new view, that seems to work better.
Look at the two fairies laying on the log opposite. A better angle for them would be more oblique. Slightly at an angle. The right fairy would look less upside down, the standing fairy would look more laid down.
As way of a side note, their boobs are a bit too pert. And, perhaps, I’ve brought out too much of the athletic body morph. I’m more into fat ‘n’ flabby these days. When I return to this pose, I’ll adjust the sliders accordingly, swing the camera more oblique and distort the high rez HDR to fit within Photoshop and to cover my tracks perhaps I’ll add some oil brush or watercolour effects.
Objects AKA props

A scanned fly agaric
Tree trunks, toadstools, stones. These are things I’ve scanned for my pictures. (Though I’ve recently spent a lot of time scanning fairground rides for a health and safety company.)
Tree trunks are easy scans and come in handy, obviously in forest scenes. And just one tree slightly turned, a different scale, stretched, mirrored and you’ve enough for a whole forest.
The detail required in toadstools however necessitate individually scanned props. Though, within Zbrush, a collection of two or three can be puckered up, squashed and then turned around, enough to make a natural bunch. But beware, the gills underneath are very difficult to scan well.
Though you may want to buy props from TurboSquid or other places, and certainly check out Daz3D’s shop there are many useful props there as well as full blown environments, cityscapes, medieval buildings, etc..

Module 4: Advanced 3d
Further Renderers
Daz3D uses the inbuilt iRay for really good ray tracing but, if you want to get in deep it will be with OTOY’s Octane Renderer where you can add atmospheric effects: fogs, mists mainly. Here’s a quick introduction to the Daz3d Octane plugin.
Octane is only necessary if you’re intending to make complete environments, with characters. But, be aware such full images can take days to render a large enough high quality image for final printing, the more so when you get into the subsurface scattering in skins. Essentially, the more real you want the final render to look, the longer it’ll take for that single ray of light to travel through glass, into the skin, and back out. Consider the transparency in noses, and ears. It’s the same for the skin. And then… There’s hair: long curly locks and peach fuzz, or a beard.
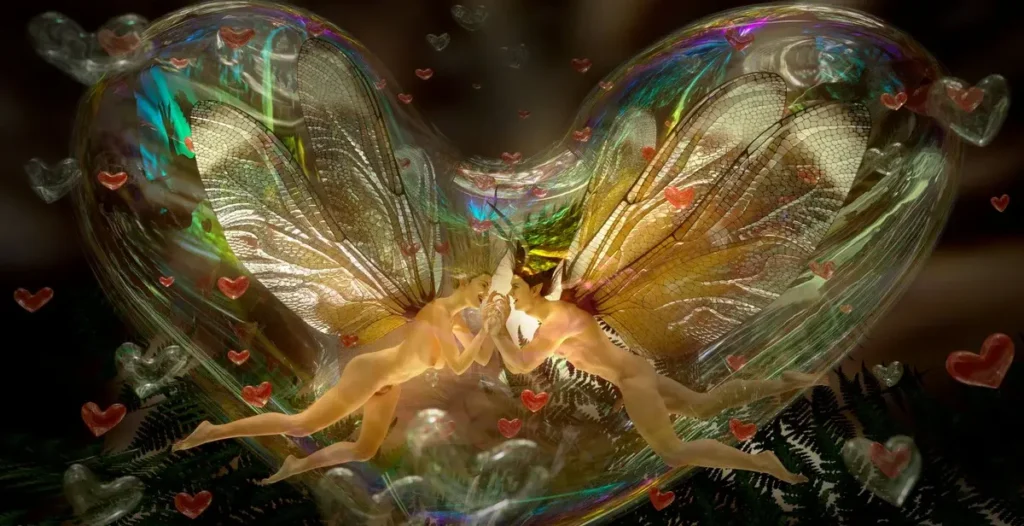
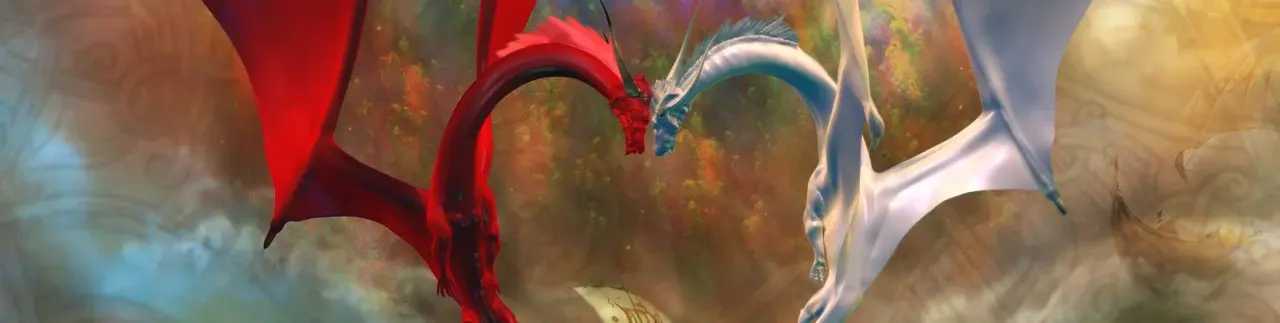
Above, two fairies in a love bubble surrounded by dragons. Two ‘cameras’ off the same arrangement. The more colourful tonemapped version has proved to be more popular.
Of course, if you are then going to use a Photoshop oil brush to overpaint your renders, or turn them into watercolours, there may be no need to let the renderer iterate over and over to draw all those points of light hitting the ‘camera.’ It will be much, much faster to use a low number of ‘samples.’
From beginner to advanced level is available. This may include clothes design with Marvelous Designer and animation.

Ongoing monthly support
An ongoing monthly support package is a great way of getting a fast answer to your problem.
As stated above the weekend training course includes one month email and telephone support, Monday afternoon to Friday morning 9 till 5, FREE! These weekends are jam packed you cannot remember it all, nor take enough notes. So, to ease your worried brow Shropshire’s famous witch photographer is here to hold your hand.